First let me say I am definitely proud of myself for seeing a craft on Pinterest and being determined to do it and complete it.
I was on Pinterest pinning as usual and ran across this Santa Wreath and thought it was the coolest wreath. I mean you don’t normally see wreaths like this hanging on someone’s door during Christmas and I told myself I had to make it because I love things that are different and I really wanted to challenge myself.
I am going to do a “How to” for anyone that’s interested in making it. However, before I begin I do want you to know that my pictures are horrible because I was using my cell phone and because the lighting in the house was very awful but you can see it good enough to understand where I am going with it.
Supplies:
1. Styrofoam Wreath
2. Red Spray Paint or Red Paint
3. Red burlap
4. Black burlap
5. Hot glue gun
6. Silver or Gold scrapbook paper
7. Wooden Letters
8. White paint (only if you don’t buy white letters)
I bought a white styrofoam wreath and immediately started adding burlap rosettes to it and realized that you could see the white through the burlap. So, I was trying to figure out a way to cover up the white so I was searching and found a blog where a woman had spray painted her wreath red so when she added the rosettes you couldn’t see white. I can’t remember what blog it was but thanks so much!!!! So, I realized I had some red paint from when I painted my “L” on my fall wreath. I started painting it and I only had a really tiny paint brush so it took forever . I painted it and let it dry and I decided to finish it the next day.
I started making Rosettes and added them to the wreath with my hot glue gun. BTW, I burned myself and had a blistered index finger for 2 days. Ouch:(
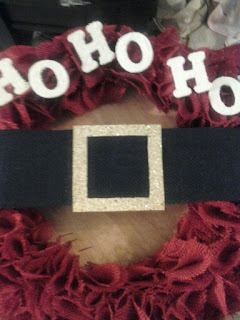
After I added all of the Rosettes I cut a long piece of black burlap (I didn’t measure it, sorry) and I made sure it went all the way around the wreath and then I glued it to the wreath.
Next, I got my sparkly scrap book paper that I got for $1.00 because they had a sale that day! Yay! Cut it in a square and used it for my belt buckle.
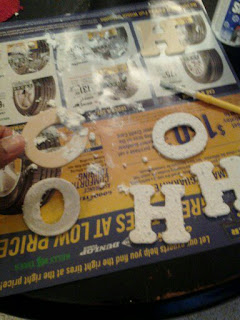
Last, I got my wooden letters and painted them with my Deco art snow paint (that I’m using for another D.I.Y that I found on pinterest) painted them and then glued it to my wreath.
Here are a few pictures of how I did everything…. I tried to explain it the best I knew how not really good at that Enjoy!!!!!
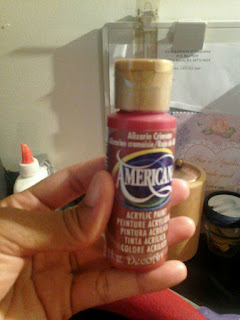
You don’t have to use this actual paint but I already had it that’s why I used it but it works great
You should be able to find it at any craft store. I got mine at Hobby Lobby on Sale for .89
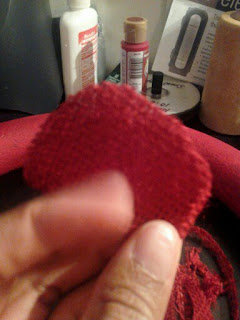
I cut the burlap in circles. I did not measure them I just cut small circles and big circles but I had a lot because I wanted my wreath to be really full. I went to Hobby Lobby and got 2/3 of a yard of burlap and thought it was enough but because I made it so full when I was half way I ran out. I had to go back to Hobby Lobby and I decided to get 1/2 a yard and it was just enough and I had a little bit left over.
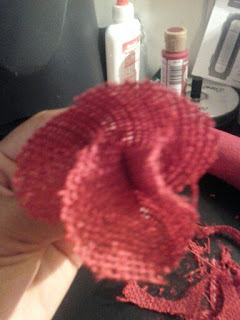
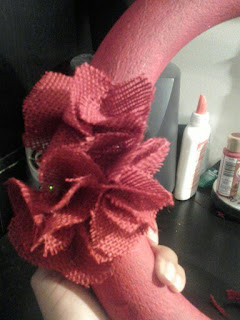
After I cut my circles I bunched it up until it look like the rosette you see below and then I hot glued it to the wreath. Also, in order for my rosettes to stay like that I hot glued it on the inside so it could hold and then I glued it to the wreath.
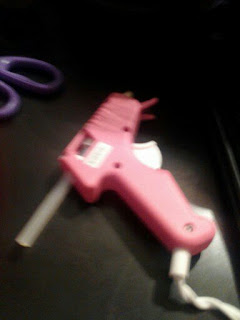
I think I used about 10 or more Hot glue sticks to make this wreath. You don’t need that much but I was suffering from paranoia and ocd (I don’t have ocd or anything to that nature but sometimes I feel like I do when I want things to be a cetain way) at the time and I really wanted my rosettes to stay so I glued and glued until I felt like it was secure. You just have to use the amount that satisfies you.
This is how the wreath looks in its beginning stages and with the paint on it.
This is just a close-up picture
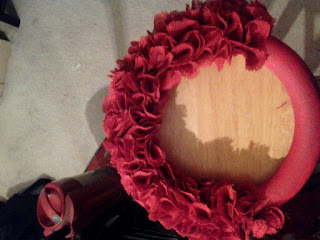
Now I am at the half way mark on day 1 1/2 and this is when I had to stop and go back to Hobby Lobby to get more Burlap. My finger was blistered by this point, my wrist was hurting, and my hand was completed tired from all of the cutting to make the circles.
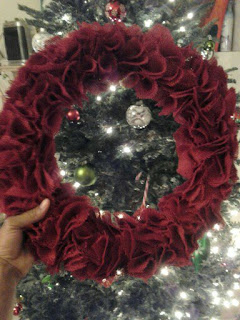
This is how it should look when its full
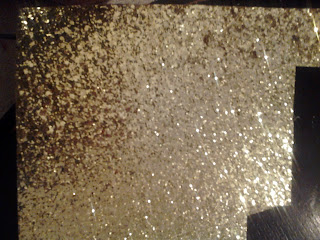
I can not remember the exact name for this paper but I did get out of the scrap book paper aisle at Michaels. It was originally $1.99 but I got it on sale for $1.00.
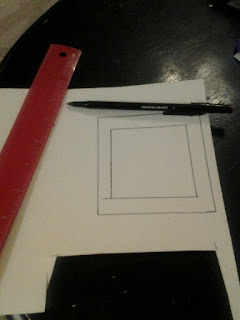
This is something I actually measured because I wanted my lines to be even. FYI: the box on the inside is for you to cut out so you can have a thick, evenly sized belt buckle.
I got the wooden letters from Hobby Lobby for .99 per pack and you get 4 letters in each pack. So, I spent $2.00 for 8 letters which was a pretty good deal.
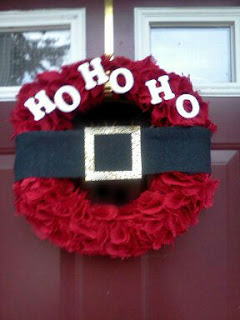
The Finished Product….. Santa Claus Wreath!!!!
It took me 2 days to finish it because making the rosettes from the circles I cut and gluing them is time consuming and I had a lot of distractions with the kids and my other duties I have to do through out the day. It shouldn’t take you that long if you actually have a lot of free time so I hope you enjoyed my tutorial on my Santa Claus Christmas Wreath!
Best of Luck,
The Queen




mrs. tabb
darling.
sorry I'm attacking your blog with comments 🙂
Martina
Thanks so much Mrs. Tabb… Also, Thanks for following! I checked you out and your daughter is absolutely Beautiful!!!!!!!!!!!!!
P.S. I don't mind the comments! You'll probably see lots of comments from me too:)
God Bless